📘 Assets Panel
🏘️ NoesisGUI ▸ 🏠 Noesis Studio ▸ 📘 Assets Panel
Overview
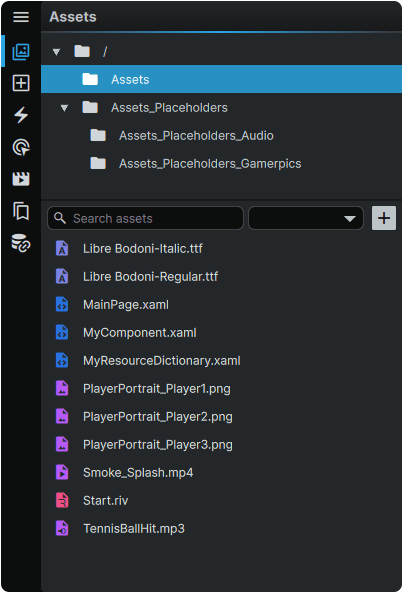
The Assets Panel is used to view and organize supported file types used within a project. These include XAML files, as well as a wide range of media formats.
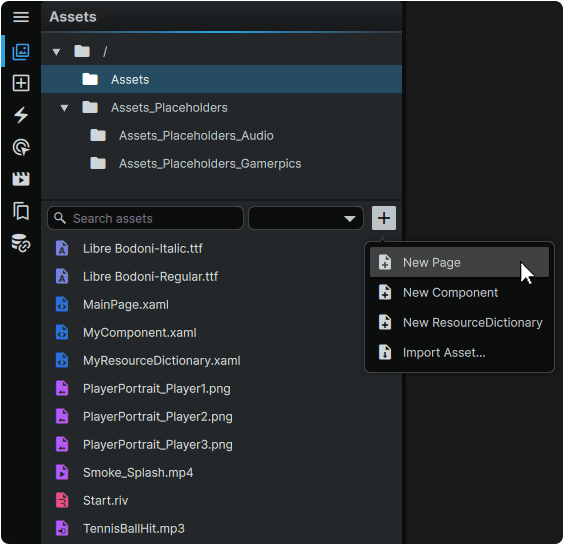
In addition to providing access to existing files found inside of your Project directory, new XAML files can be created directly from the Assets Panel and can include a variety of content, including XAML Pages, XAML Components, and XAML ResourceDictionaries.
Asset Handling
Noesis Studio offers native support for a wide range of media and file types.
Note
To be used by a Project, all assets destined for use within the interface being built must be stored within the directory the Noesis Project itself is located, either as free-floating files, or contained within a subfolder.
Assets stored in the Project's directory are automaticlaly displayed in the 📘 Assets Panel mirroring the same folder hierarchy in which they are organized on the local machine.
Unsupported file formats are not displayed in the Assets Panel.
Supported Formats
Document
|
✅ XAML
|
📘 Component Element XAML files can be clicked-and-dragged from the Assets Panel onto a Page's 📘 Stage or 📘 Navigator Panel, creating an instance of it in the process.
|
Bitmap
|
✅ PNG
✅ JPG/JPEG
|
Bitmaps can be clicked-and-dragged from the Assets Panel onto a Page's 📘 Stage or 📘 Navigator Panel. This is introduced via an 📘 Image Element.
|
Vector
|
🌀 SVG
|
Vector assets are supported in Noesis Studio, however, they must currently be imported as SVG Paths into a compatible XAML file.
Learn more about 📘 Path Import Features.
|
Typography
|
✅ TTF
✅ OTF
✅ TTC
|
|
Audio
|
✅ MP3
✅ WAV
✅ OGG
✅ FLAC
|
|
Video
|
✅ MP4
✅ MKV
✅ AVI
✅ MOV
|
Videos can be clicked-and-dragged from the Assets Panel onto a Page's 📘 Stage or 📘 Navigator Panel. This is introduced via a 📘 MediaElement Element.
Note that functionality beyond basic automatic playback requires hand-coding the desired functionality in XAML.
|
Rive
|
✅ RIV
|
Learn more about ↗️ Using Rive in Noesis
|
Note
To successfully render, all applicable file types require an appropriate codec to be present on whichever platform they are running.
Zones
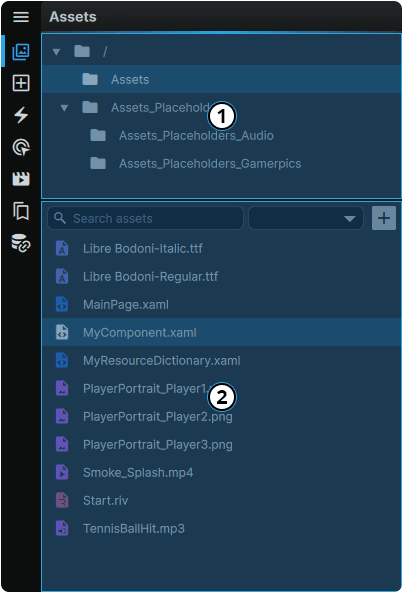
| ① Folder Browser | The contents of the folder selected in the Folder Browser will be shown within the File Browser below. |
| ② File Browser | Displays a list of all files contained within the folder selected in the Folder Browser.
|
Note
The directory, the contents, and the hierarchy displayed within the Assets Panel are a direct representation of the project folder on the machine on which the application is running. Changes to file names, structure, or content in the Assets Panel will also change within the local Project directory.
However, if changes are made directly in the operating system's file explorer, Studio will need to be restarted for the changes to be accurately reflected within the Assets Panel.
Folder Browser Functions
Adding Assets
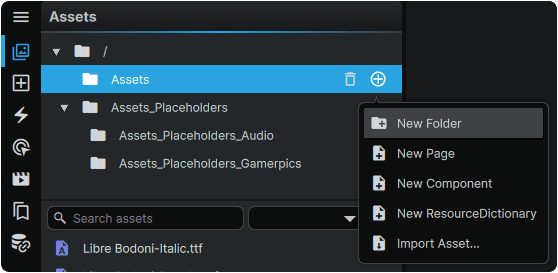
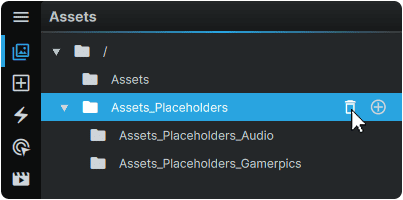
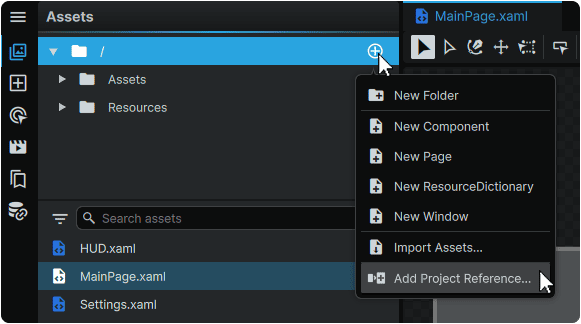
Hovering over any directory within the Folder Browser and clicking the ⊕ (Add) icon grants the ability to add new items which will be created inside of the folder from which the menu was invoked.
Note
Importing an asset located outside of your project's directory will copy it to the selected folder inside your Project directory.
Renaming Folders
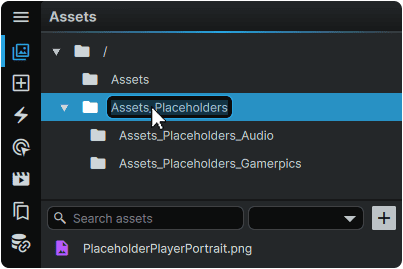
Directories can be renamed by double-clicking on the folder name in the Assets Panel, or by clicking on a folder and pressing F2.
Alternately, folders can also be renamed directly from the operating system file explorer. However, doing so may require a restart of the application for the changes to be visible within Studio.
Moving Folders
Directories can be moved by clicking-and-dragging the folder to its new location within the Project directory visible in the Assets Panel.
Alternately, folders can be re-arranged within the operating system file explorer itself. This may however require a restart of the application for the changes to be visible within Studio.
Deleting Folders
Clicking on the 🗑 (Delete) icon to delete a folder in the Assets Panel will also delete the folder and its contents (if applicable) from your machine.
File Browser Functions (Folder-Level Actions)
Adding Files
Clicking on the [+] (Add) icon within the Folder Browser grants the ability to create new items which will be added inside of the active folder at the time of invoking the action.
Note
Importing an asset located outside of your project's directory will create a copy of it in your local folder.
Filtering Files
Files can be filtered either by name via the 'Search assets' field, or by file type using the filter dropdown menu.
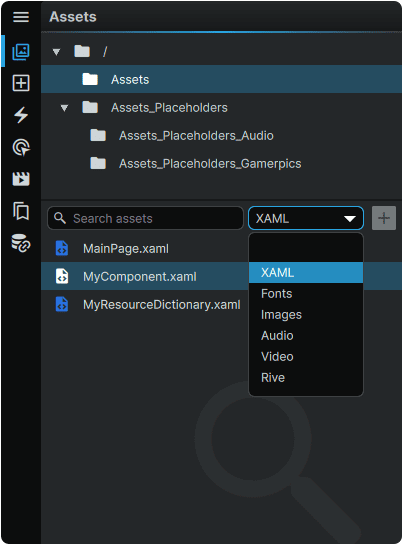
To turn filtering off, either clear the 'Search assets' field of text, and/or return the filter dropdown to 'none'.
File Browser Functions (File-Level Actions)
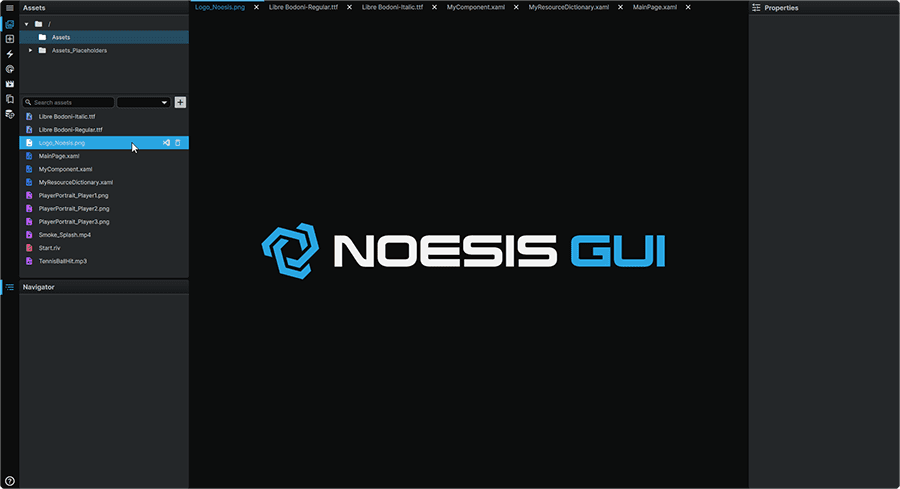
Viewing Assets
XAML files can be opened for viewing or for editing by clicking on them in the Assets Panel.
Font files and bitmap images can be previewed in a read-only mode by clicking on them in the Assets Panel.
All other file types can be viewed where employed within an Element. Learn more about 📑 Using Assets
Using Assets
XAML files can be dragged directly to the Stage or the Navigator, where it be placed as an instace of the XAML file, in the form of a Component.
Bitmap images, Video, and Rive files can also be directly dragged to the Stage or the Navigator, where they will be placed as Image, MediaElement, and RiveControls respectively, each containing a reference pointing to the Asset in question.
All other Asset types can be applied to various Elements through compatible Element Properties. Learn more about the 📘 Properties Panel
Moving Files
Assets can be moved to a different location within the Project directory by clicking-and-dragging the file to its new location within the Project directory visible in the Assets Panel.
Alternately, files can be re-arranged within the operating system file explorer itself. This may however require a restart of the application for the changes to be visible within Studio.
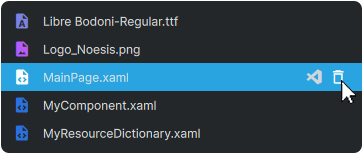
Open In External Application
Clicking on the Visual Studio icon will open the specified file in Visual Studio Code in parallel to Noesis Studio. Any changes saved in VSCode will be reflected in Noesis Studio, and vice-versa.

Note
Although Font files and Rive files can be opened externally, they cannot be previewed within VSCode.
Deleting Content
Clicking on the 🗑 (Delete) icon to delete an asset via the Assets Panel will also delete the file from your machine.
Project References
In addition to managing local Project files, Studio also makes it possible to 'reference' the content of other Studio Projects from a 'host' Project. This allows Pages and Resources from one Project to be accessed and leveraged in another.
Note
The contents of a 'referenced' Project are strictly available as 'read-only' files within the host Project. To make changes to content in the 'referenced' Project without exiting the 'host' Project, the referenced Project's .noesis file can be directly opened in a second instance of Studio. Any saved changes will then reflect across both Projects.
Adding a Project Reference
From the host Project, another Project can be added as a reference by hovering over the Project's root folder (🗀/), clicking the (+) icon, and selecting 'Add Project Reference...' from the menu.
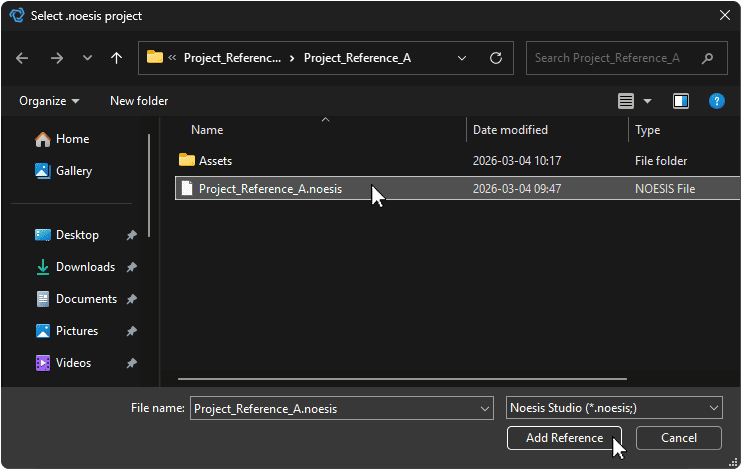
Selecing another Project's .noesis file, then selecting 'Add Reference' in the dialog will add the referenced Project and its contents to the host Project.
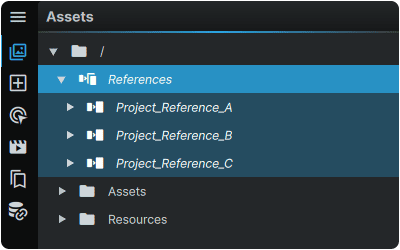
Completing this operation will make the referenced Project appear under a new 'References' directory in the host Project's Assets Panel.
From here, the referenced Project and its contents can be freely browsed and opened in a read-only manner.
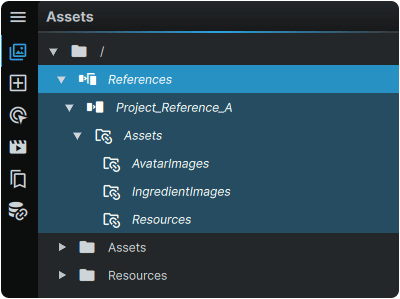
More than one Project can be referenced from a host Project. If further are added, these will also appear in the (🗀/References) directory in individual folders named after their individual Projects.
Removing a Project Reference
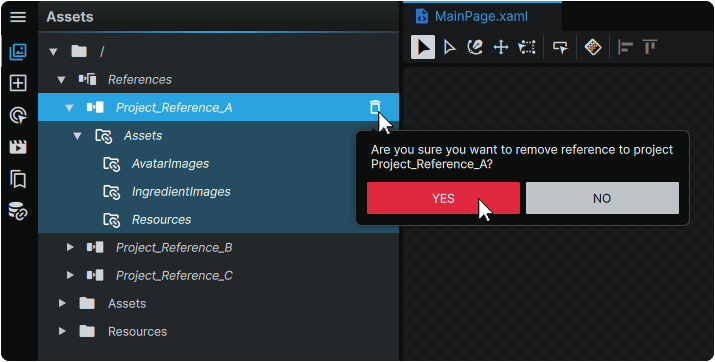
Reference Projects can be removed from a host Project by hovering over it under the (🗀/References) directory, clicking the 🗑 (Remove) icon, then confirming its removal.
Note
If the host Project uses any content from a removed 'referenced' Project, all Elements in the host Project using any of the referenced Resources, will cease to do so, and have their presentation broken until an applicable replacement can be configured.
Using Reference Project Files
When a reference Project has been added to a host Project, all of the referenced Project's Assets become available to Elements found within the host Project.
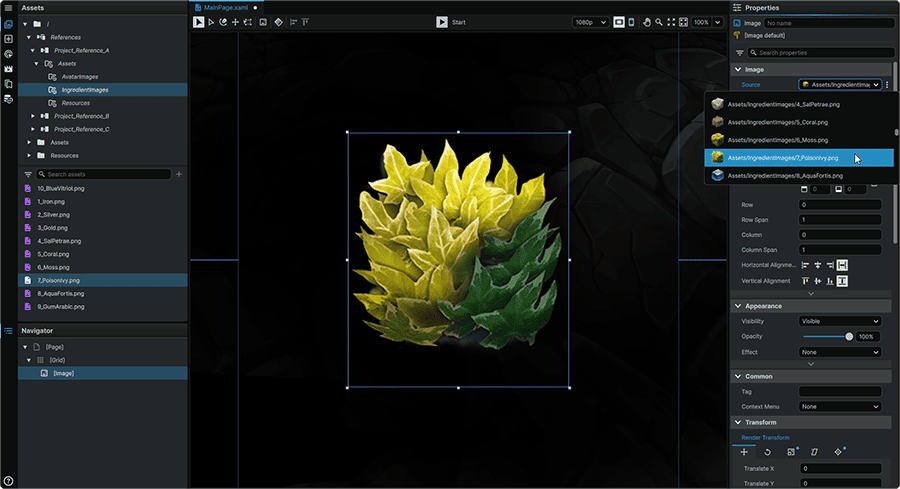
Alternately, any of the reference Project's assets can be used in any of the host Project's Pages by clicking-and-dragging them from the Assets Panel into the 📘 Stage or 📘 Navigator Panel.
Using Reference Project Resources
When a Project is referenced in a host Project, the Resources contained within its ResourceDictionaries are not made immediately availble to the host Project.
To make the referenced Project's Resources accessible, they must first be merged into a local ResourceDictionary in the 📘 Resources Panel using the techniques outlined in 📘 Merging ResourceDictionaries.
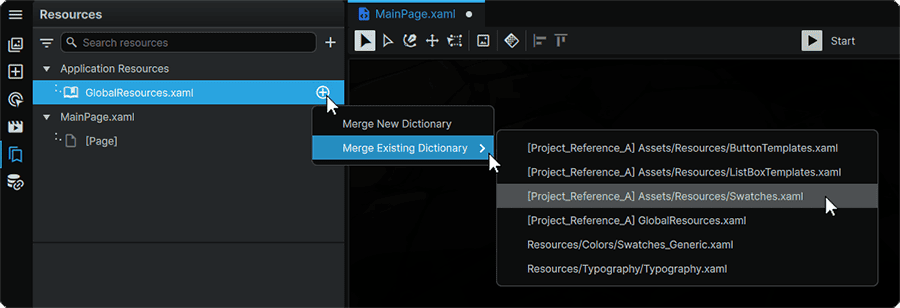
Once the desired reference Project ResourceDictionaries are merged, their Resources then become available for usage by Elements within the host Project.
Administrative Features
In certain circumstances, a Project's architect may wish to decide what can be displayed to authors within a Studio Project.
Using the techniques outlined in 📘 Hiding Assets in Studio, entire collections of of folders and/or files can be prevented from being displayed and accessible to users within Noesis Studio's interface.
Furthermore, following the procedures in 📘 Assets Directory Constriction, a user can reduce the scope of the directories visible in the 📘 Assets Panel.