


📘 Data Panel
🏘️ NoesisGUI ▸ 🏠 Noesis Studio ▸ 📘 Data Panel
Overview
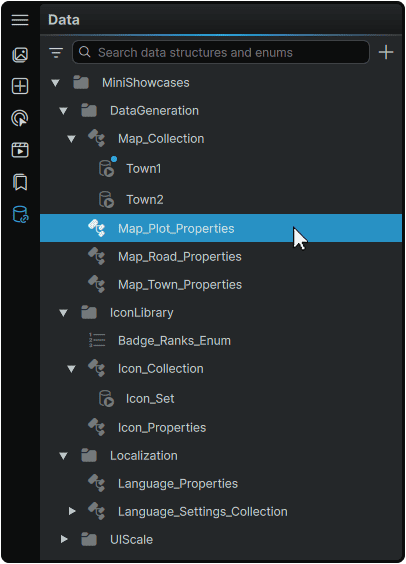
The Data Panel serves as the central hub within Studio to create, manage, and populate a Project's 📘 Design-Time Data. This 'mock data' only exists within Noesis Studio and can be leveraged to run an entire Project's interface within Studio without any external dependencies. It also grants creators an enormous amount of autonomy to build, preview, and test Data-driven interfaces without the constraints of being directly tethered to the Engine and its Data.
It is important to note that although the Design-Time Data found in the Data Panel is exclusively used within Studio, if an Engine's and Studio's 📘 Data Structures and Properties are configured to match each other, any 📘 Data Binding configured in Studio will seamlessly apply to its Engine context as well. This parity allows the exact same interface files to be shared between both Studio and the Engine.
The Data Panel provides the ability to administer three types of Data Items:
- 📑 Data Structures, which serve as the core containers for Data used throughout a Project.
- 📑 Enumerations, which provide the ability to create ordered lists of Data Values.
- 📑 Data Sets, which contain the Data Values used throughout a Data-driven project.
Universal Data Operations
Although Data Structures, Enumerations, and Data Sets all contain their own suite of functions, within the context of the Data Panel, certain functions are shared:
Selection Mechanics
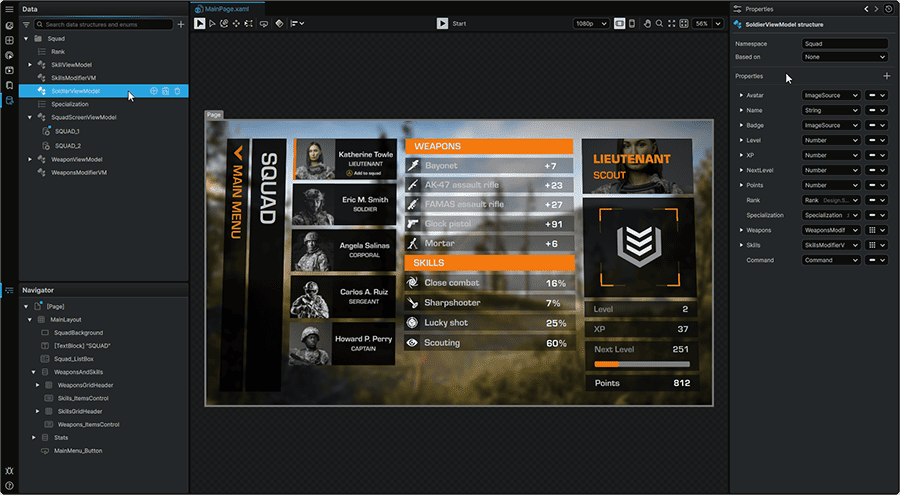
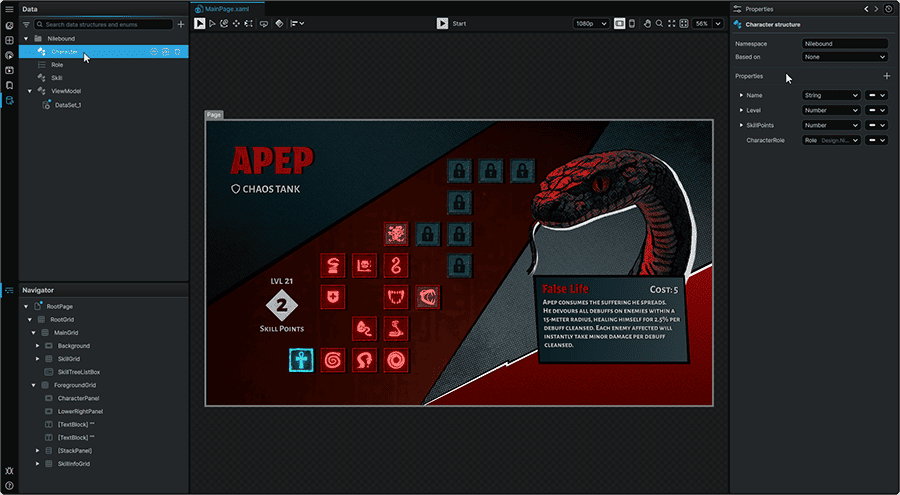
Selecting any Data Structure, Enumeration, or Data Set item from the Data Panel will display the item's Properties in the 📘 Properties Panel, where they can be configured.
Item Context Menu
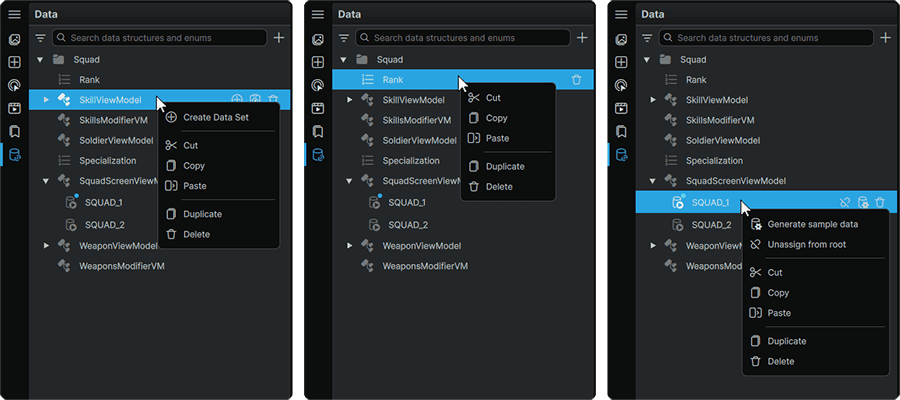
By right-clicking on on Data Structures, Enumerations, or Data Sets, the following context menu actions can be performed :
Cut
Copy
Paste
|
• Allows 📑 Data Structures, 📑 Enumerations, and 📑 Data Sets to be Cut (Copied and Removed) or Copied (Copied and Retained) into the clipboard.
• Using the Paste function with a Data Structure or an Enumeration in the clipboard will copy the original item within its 'parent' Namespace, as dictated by the Project's 📘 Namespace Organization.
• Using the Paste function with a Data Set in the clipboard, will produce a duplicate of it within its 'parent' Data Structure.
|
Duplicate
|
• Duplicating Data Structures or Enumerations will create a copy within the item's 'parent' Namespace, as dictated by the Project's 📘 Namespace Organization.
• Duplicating a Data Set will create a copy within its 'parent' Data Structure.
|
Delete
|
• Deletes the selected item.
|
Renaming Items
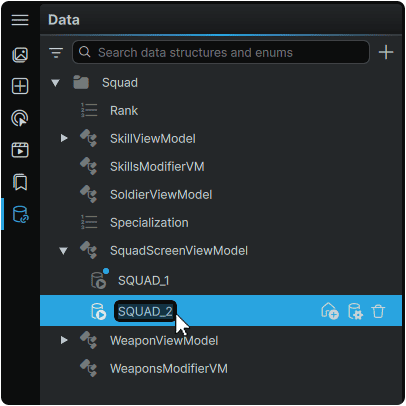
Any Data Structure, Enumeration, or Data Set can be renamed at any time by double-clicking on it in the Data Panel and inputting a new name.
Deleting Items
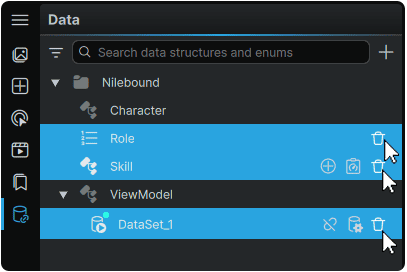
Any Data Structure, Enumeration, or Data Set can be deleted by hovering over it in the Data Panel, and clicking its associated 🗑 (Delete) icon.
Note
A Data Structure that contains a Data Set that is currently assigned to a scope cannot be deleted without first unassigning the Data Set through the methods outlined in 📑 Data Set Unassignment
Data Structures
Data Structures, made up of 📘 Data Structure Properties, form the basis of defining what type of Data is provided within a Project, how it is structurally organized, and ultimately, what Data fields are available to populate when setting up a Project's 📑 Data Sets Values.
Data Structure Creation
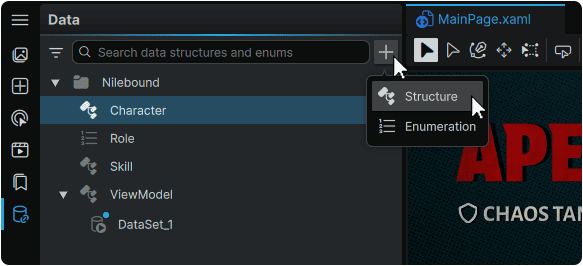
Data Structures can be created by clicking on the + (Add) icon at the top-right of the Data Panel, then selecting 'Structure'.
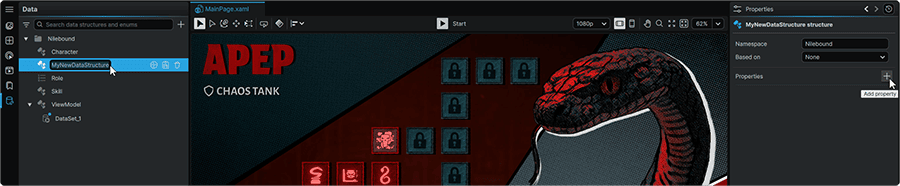
Creating a Data Structure will select it, display its Properties in the 📘 Properties Panel, and also offer the opportunity to rename it from the Data Panel.
Data Template Linking
Within the framework, it is possible to tie a specific Data Structure to a specific Data Template.
In practice, this means that when an Element is Data-driven, it can automatically swap to a designated Template based on which Data Structure is used to power it.
For example, in the context of a 📘 ListBox Element displaying a 'Chat' window composed of a variety of lines, it is through this technique that an 'Incoming Chat Bubble' Item could have a different Template displayed in its slot than an 'Outgoing Chat Bubble' in the same list.
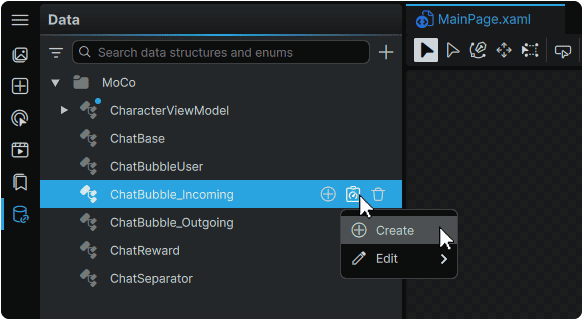
Data Templates which are automatically bound to a Data Structure can be created by hovering over the desired Data Structure, clicking on the ⌻ (Manage Templates for this Structure) icon, and clicking 'Create'.
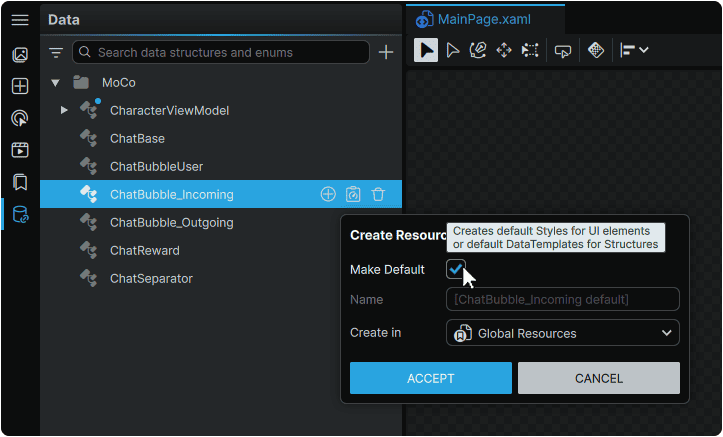
In the pop-out window that appears to select where to save the Template, it can also be set as the 'Default' Template for the Data Structure to employ when used.
Enumerations
📘 Enumerations, allow for ordered and labeled lists of Data Values to be created and leveraged throughout a Project.
Enumeration Creation
Enumerations can be created by clicking on the + (Add) icon at the top-right of the Data Panel, then selecting 'Enumeration'.
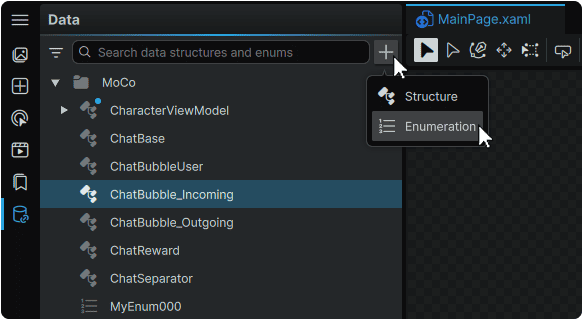
Creating an Enumeration will select it, display its contents in the 📘 Properties Panel, and also offer the opportunity to rename it from the Data Panel.
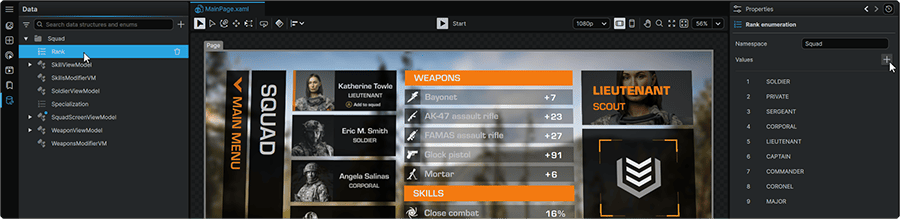
It is through the Enumeration's Properties Panel, that the items in the Enumeration can be configured using the techniques outlined in 📘 Enumeration Values.
Enumeration Usage
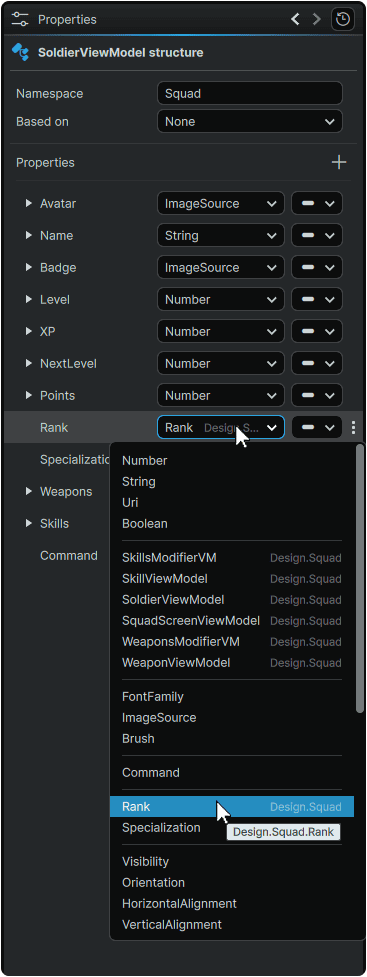
Although Enumerations cannot be directly used as a Data-driven Elements source, they can be added to any Data Structure as a Property through its 📘 Properties Panel. The Enumeration can then be served to the interface through the Data Structure that serves it.
Data Sets
If 📑 Data Structures dictate the structure of the Data served to the UI, Data Sets on the other hand, dictate the values served to the interface.
Data Set Creation
Data Sets can be created for 📑 Data Structures, by hovering over a Data Structure, and clicking the ⊕ (Add Data Set) icon.
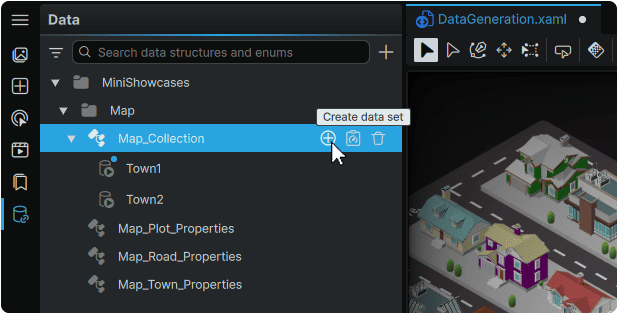
Creating a Data Set will select it, display its Properties in the 📘 Properties Panel, and also offer the opportunity to rename it from the Data Panel.
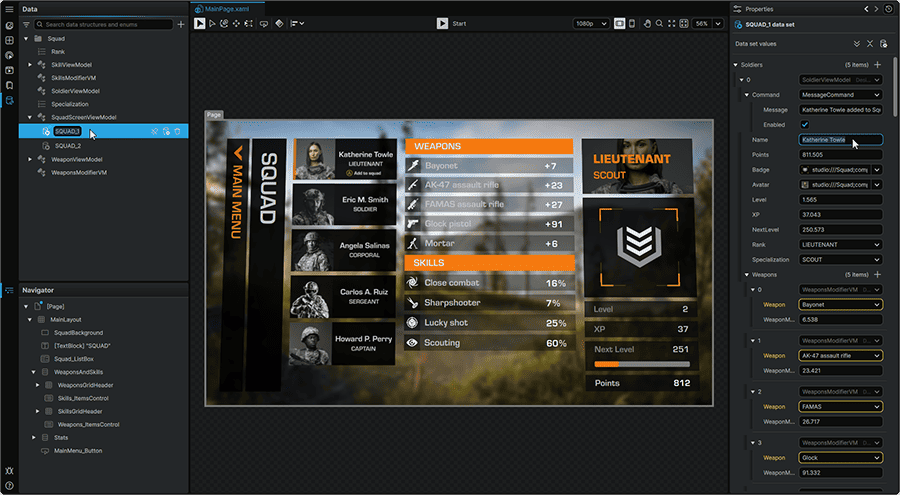
Once a Data Set has been created, its Data Values can then be filled out in the 📘 Properties Panel either manually using the techniques outlined in 📘 Data Set Population or procedurally, using 📑 Data Set Sample Data Generation
Creating a Data Set can also be achieved by right-clicking on any Data Structure, and selecting 'Create Data Set' within the Data Structure's context menu.
An unlimited number of Data Sets, all containing different values, can be created. They can then be swapped between each other as desired using the techniques outlined in 📑 Data Set Assignment.
Data Set Sample Data Generation
Noesis Studio offers the ability to procedurally populate any Data Set with Sample values, using the techniques outlined in 📘 Sample Data Generation.
Data Sets can be automatically populated with Sample Data by hovering over a Data Set in the Data Panel, and clicking on the 🛢 (Generate Sample Data) icon.
This will generate Values for the entire Data Set following the rules defined for each Data Property, as configured in the 📘 Data Generation Properties.
Data Set Assignment
Mechanically, only one Data Set can serve values to a scope at once. This is performed by assigning the desired Data Set to the root of the current scope.
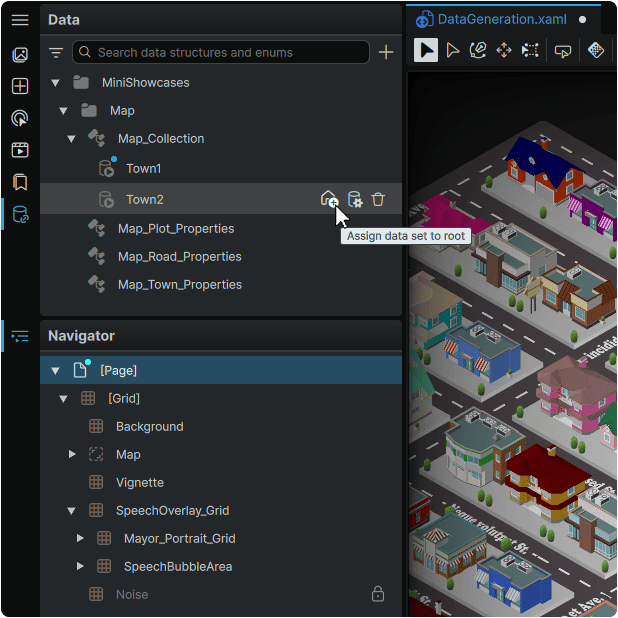
This can be performed by hovering over any Data Set and clicking the ⌂ (Home) icon.
Doing so will adorn the Data Set with a blue badge, visible in both the Data Panel and in the 📘 Navigator Panel.
Data Set Unassignment
An assigned Data Set can be unassigned at any time by either:
- Hovering over the assigned Data Set, and clicking the ☍ (Unassign) icon.
- Hovering over any other Data Set, and clicking on the ⌂ (Home) icon, which will swap the Data of the original Data Set with the values in the newly-selected one.
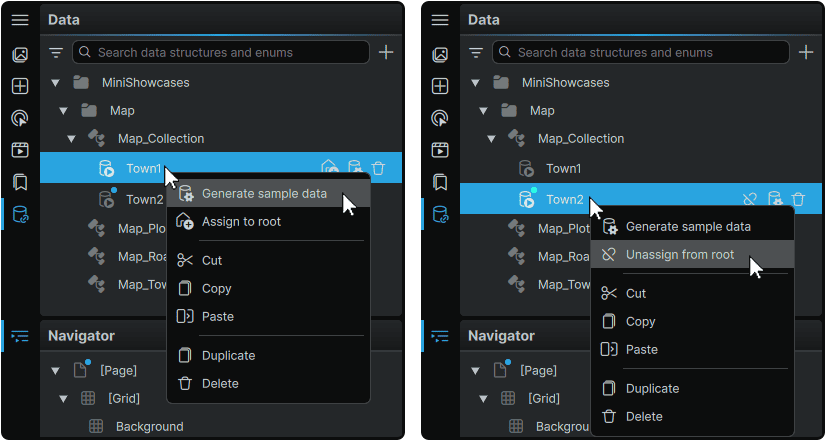
Both of these actions can additionally be performed by right-clicking on any Data Set, and performing the operations within the Data Set's context menu.
Note
In the context of Data-driven Elements, as what is displayed is dependent on Data Values being present, a complete unassignment of a Data Set will often result in a visual breakage of the interface's presentation and functionality.